Removal and Installation
PARKING BRAKE LINING AND DRUM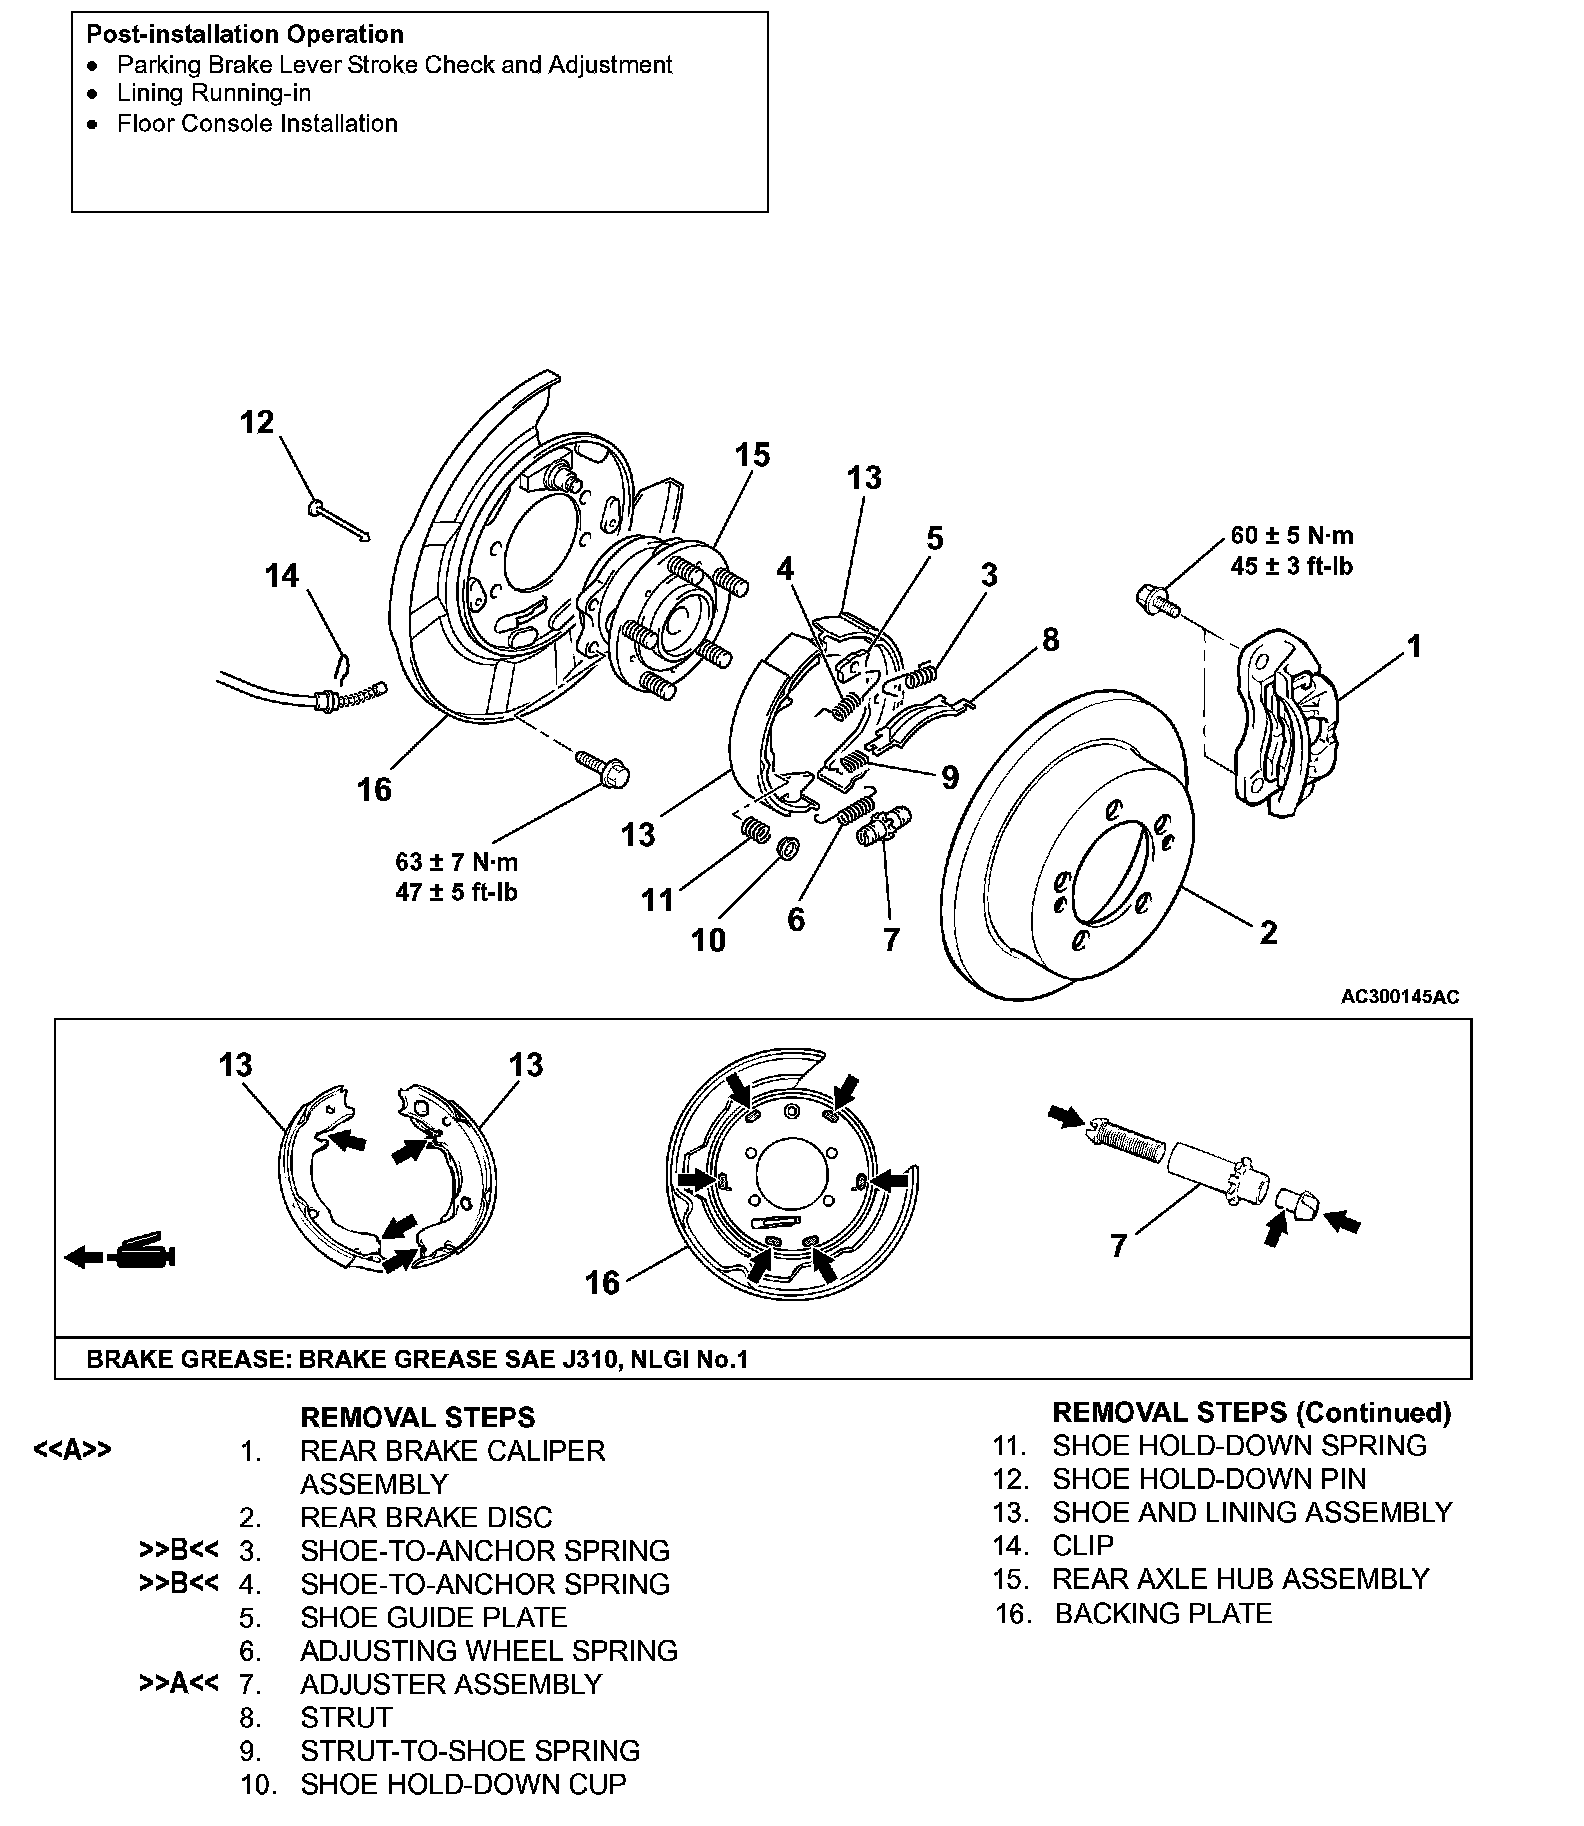
REMOVAL AND INSTALLATION
REMOVAL SERVICE POINT
<> REAR BRAKE CALIPER ASSEMBLY REMOVAL
Remove the rear brake caliper assembly and support it with wire or something similar.
INSTALLATION SERVICE POINTS
>>A<< ADJUSTER ASSEMBLY INSTALLATION
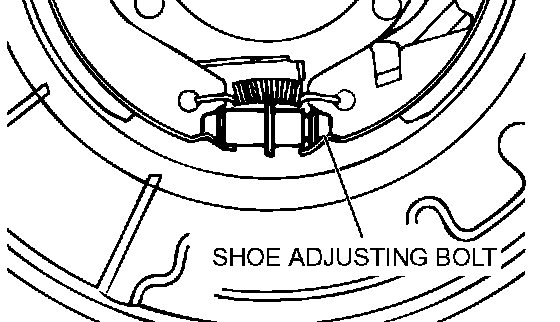
Install the adjuster so that the shoe adjusting bolt for the left hand wheel is attached towards the rear of the vehicle, and the shoe adjusting bolt for the right hand wheel is towards the front of the vehicle.
>>B<< SHOE-TO-ANCHOR SPRING INSTALLATION
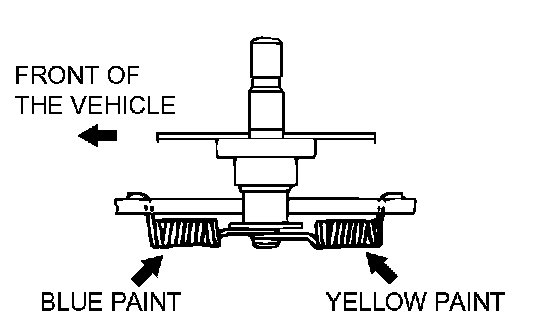
The shoe-to-anchor springs are not interchangeable as their constants are different. The one with blue paint mark should be install at the front of the vehicle, and the other with yellow paint at the rear of the vehicle, respectively.
NOTE: The illustration shows the left rear wheel. The right rear wheel is symmetrical to that.
INSPECTION
PARKING BRAKE LINING AND BRAKE DRUM CHECK
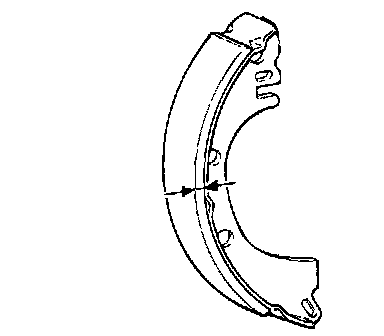
1. Measure the thickness of the brake lining at several places.
Standard value: 2.8 mm (0.11 inch)
Limit: 1.0 mm (0.04 inch)
2. If the thickness of the brake lining is below the limit, replace the shoe and lining assemblies on both sides of the vehicle. Never replace only one side.
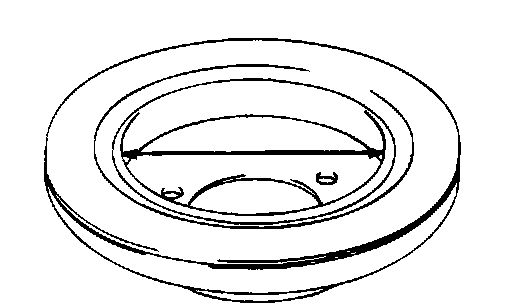
3. Measure the inside diameter of the brake disc in two places or more.
Standard value: 168.0 mm (6.61 inch)
Limit: 169.0 mm (6.65 inch)
4. If the inside diameter exceeds the limit, or if it is excessively worn on one side, replace the brake disc.